In this guide we’ll go over steps to configure proxy, DNS, IP and other settings on EVE:
The first boot requires additional configuration. Start the EVE VM/BareMetal Server:
After a while the console login prompt will be available:
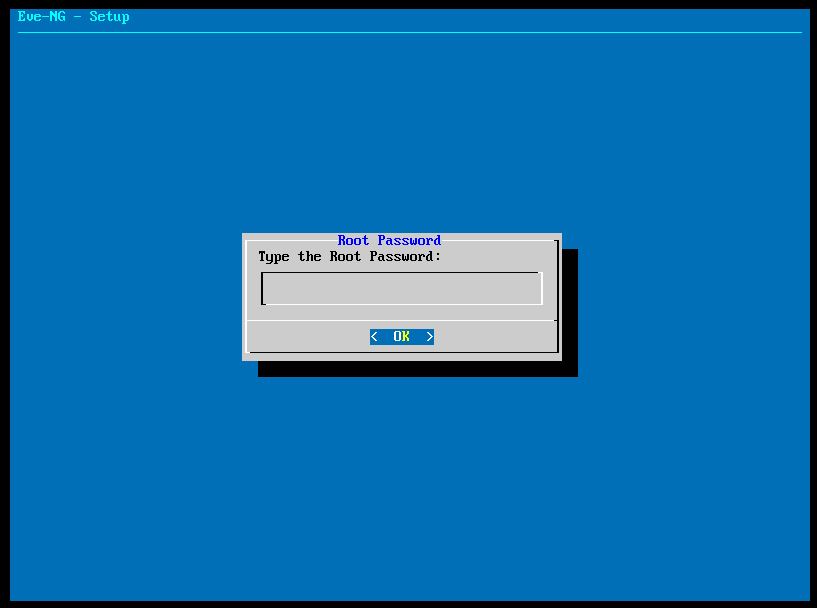
By default the EVE will look for an IP address using DHCP protocol. Login as root with default password eve and start the configuration. Insert the root password twice:
Type the hostname (default is eve-ng):
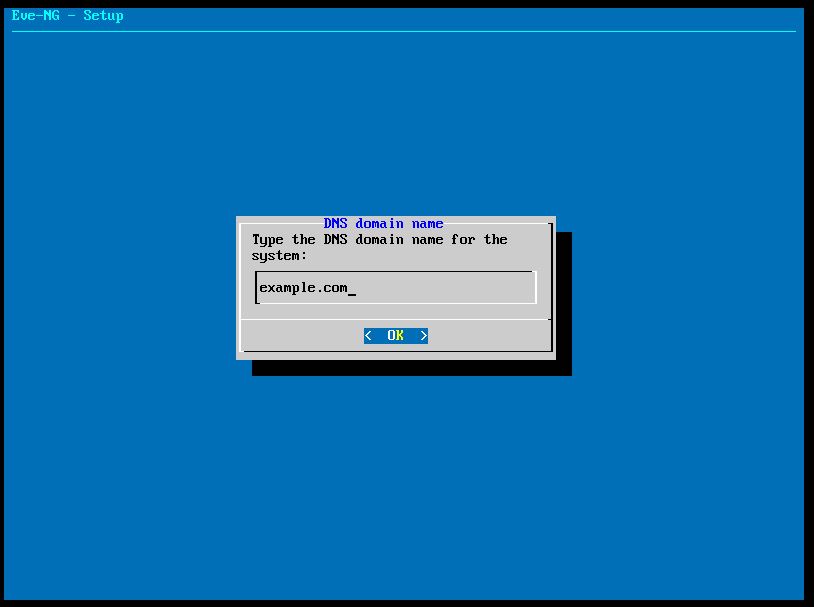
Type the domain name (default is example.com):
Mind that hostname and domain name are critical for IOU/IOL license.
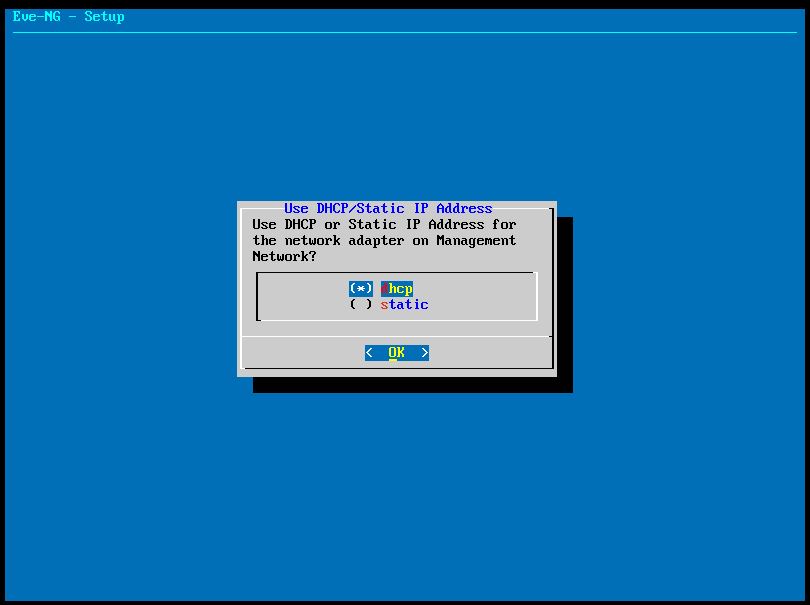
Select if management IP address should be static or configured by DHCP (default is dhcp, use arrow keys and space to select, then enter to confirm):
Static IP address will ask for IP address, netmask, default gateway, primary and secondary DNS servers.
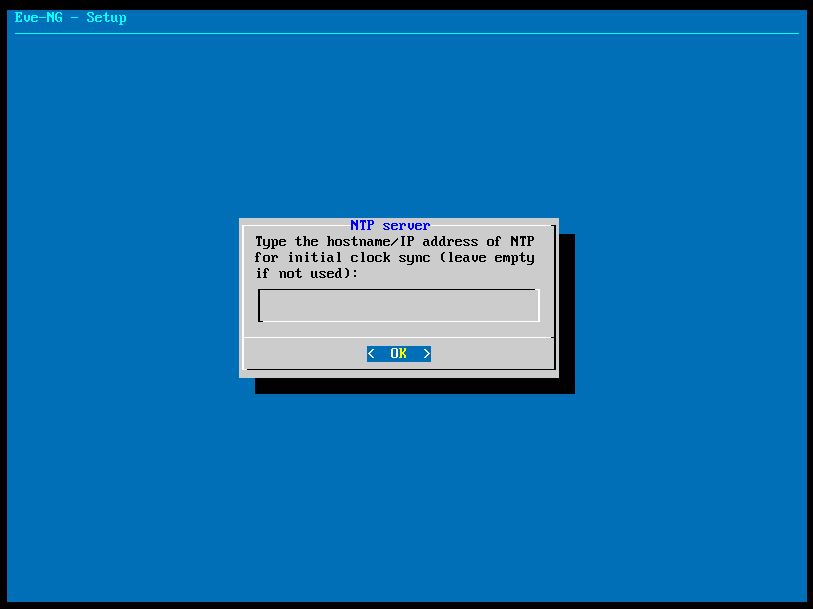
Type the NTP server or leave blank if not used (default is blank):
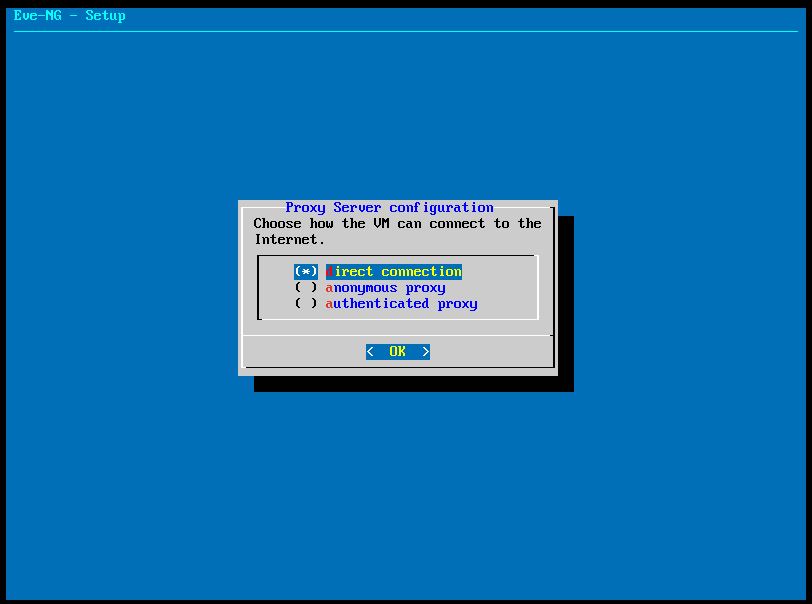
Configure how the EVE VM/BareMetal Server can access Internet (default is direct connection, use arrow keys and space to select, then enter to confirm):
None default options will require proxy hostname and port (default is proxy.example.com:8080) and username/password with authenticated proxy.
After the last confirm EVE will reboot. When the VM/BareMetal Server is up and running, SSH can be used to manage it, not before.
Finally you should upgrade system and EVE to latest version:
apt-get update
apt-get upgrade


